Understanding Side Window Replacement
What Is Side Window Replacement?
Side window replacement refers to the process of removing a damaged or broken glass panel from a vehicle's side door and replacing it with a new one. This service is vital for maintaining the structural integrity of the vehicle and ensuring the safety and comfort of the occupants. The side windows serve multiple purposes, including providing visibility, structural support to the vehicle body, and protection from the elements. A compromised side window can affect a driver’s ability to operate the vehicle safely and can lead to further damage if not addressed promptly. Whether you’ve experienced a minor crack or a full shatter, understanding the steps required in the Side window replacement process is crucial.
Common Reasons for Replacement
There are several reasons why a side window may need to be replaced. The most common include:
- Accidents and Collisions: A side window is often damaged during minor fender benders or more serious collisions. When glass breaks, fragments can create safety hazards.
- Theft Attempts: Burglars may break side windows to gain access to the inside of the vehicle. Even if the window can still function, it may need replacement due to the damage incurred.
- Extreme Weather Conditions: Hailstorms, heavy winds, and other severe weather can lead to cracks or chips in the glass, necessitating a full replacement.
- Wear and Tear: Over time, repeated stress and minor impacts can weaken the glass, causing cracks or defects that require replacement.
- Manufacturing Defects: In some cases, defects in the glass itself can lead to failures and necessitate a replacement.
Signs You Need a Replacement
Recognizing the signs that indicate a need for side window replacement is crucial for safety. Look out for:
- Visible Cracks or Chips: Any noticeable damage to the glass can compromise its structural integrity, making it vulnerable to breakage.
- Distortion of Image: If you notice that objects appear distorted when viewed through the window, this may indicate the glass is compromised.
- Noise or Whistling: Unusual noises while driving, particularly at higher speeds, can suggest that the seal around the window is broken.
- Difficulty in Window Operation: If the window does not open or close smoothly, it may require inspection and replacement.
Choosing the Right Materials
Types of Glass for Side Window Replacement
When it comes to replacing side windows, choosing the right type of glass is imperative. The two main types of glass used for automotive side windows are:
- Tempered Glass: Tempered glass is the most common material used for side windows due to its durability and safety features. It is subjected to high temperatures during manufacturing, making it stronger than regular glass. Upon breaking, it shatters into small, blunt pieces, reducing the risk of injury.
- Laminated Glass: Laminated glass consists of two layers of glass with a layer of plastic sandwiched in between. This type is often used for windshields but can also serve a purpose in side windows where added security and noise reduction are desired. It tends to hold together when shattered, providing additional safety.
OEM vs. Aftermarket Glass Options
Another significant consideration in side window replacement is whether to use OEM (Original Equipment Manufacturer) glass or aftermarket options:
- OEM Glass: This type of glass is made by the same manufacturer that made the original glass in your vehicle. It's designed to meet strict quality and safety standards, ensuring that it fits perfectly and offers optimum performance.
- Aftermarket Glass: Aftermarket options are made by third-party manufacturers. They may vary in quality, compatibility, and price. While some aftermarket options offer excellent quality, others may not pass safety standards, making it vital to research before selecting this type.
Considerations for Material Quality
Quality matters when selecting materials for side window replacement. Consider the following factors:
- Certification: Ensure that the glass you choose is certified to meet both national and local safety standards.
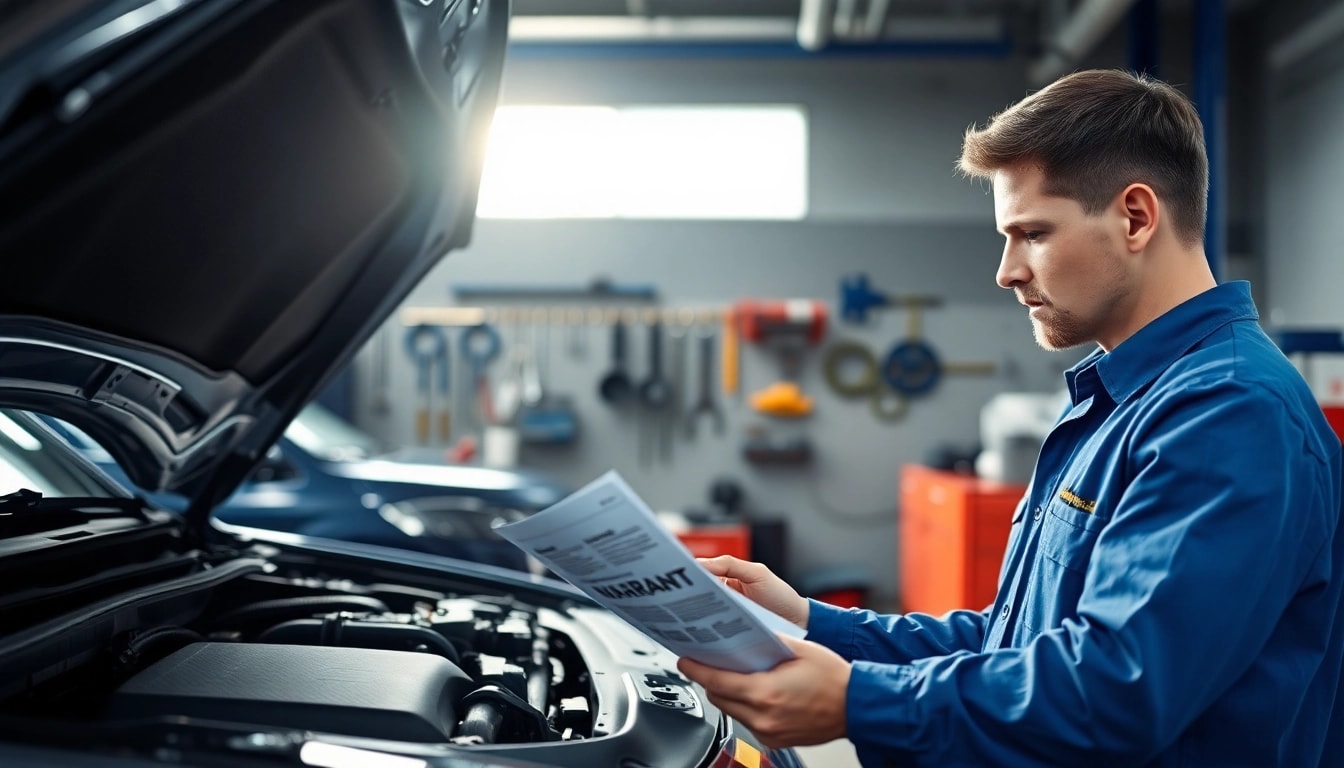
- Warranty: A good warranty often reflects the quality of the materials used. Look for options that offer an extensive warranty period.
- Reviews and Research: Read reviews of the glass types you are considering and consult professionals regarding the best options available for your vehicle.
The Replacement Process Explained
Step-by-Step Overview of Side Window Replacement
The side window replacement process consists of several precise steps to ensure a proper fit and secure installation:
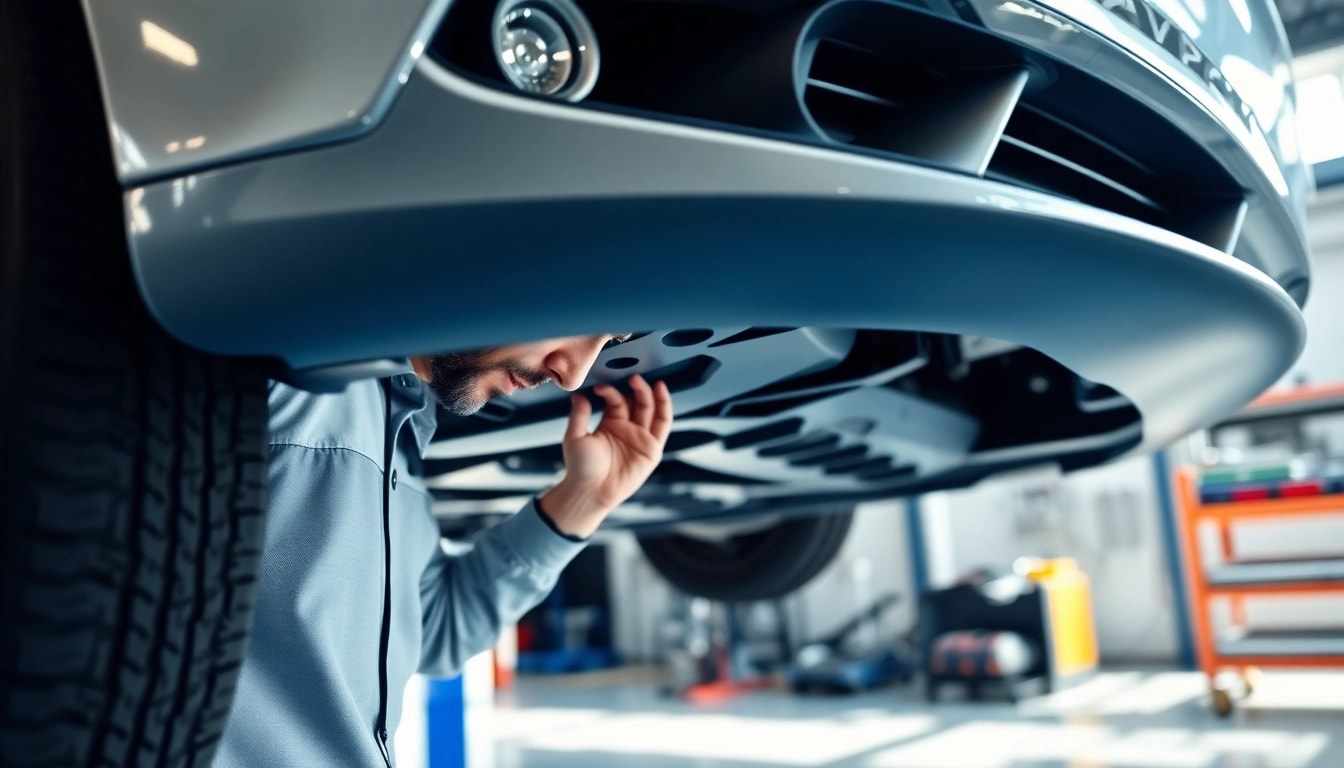
- Initial Assessment: A technician should examine the damaged window, checking for any other issues that might complicate the replacement process.
- Removing the Damaged Glass: The technician carefully removes the broken glass. This may involve taking off the door panel to access the window frame properly.
- Preparing the Frame: Any debris, old adhesive, or small glass fragments must be removed from the frame to ensure a clean surface for the new glass.
- Installing New Glass: The new glass is aligned and inserted correctly into the frame. Precision is key to ensuring it seals properly.
- Applying Adhesive: A specialized adhesive is applied to secure the glass in place. This adhesive needs time to cure fully for maximum strength.
- Reassembling the Door: After the adhesive has set, any door panels or components that were removed are reattached.
- Final Inspection: A thorough inspection is conducted to ensure everything is sealed properly and working as intended before the vehicle is returned to the owner.
Tools Required for the Job
To successfully carry out a side window replacement, several tools and materials are necessary:
- Safety Goggles: To protect eyes from glass shards during the removal process.
- Gloves: For hand protection against sharp edges.
- Glass Removal Tool: This tool simplifies the process of cutting through adhesive and freeing the old glass.
- Seam Sealant: To maintain a watertight seal around the edges of the new glass.
- Screwdrivers: Various sizes to remove door panels and other components as needed.
- Adhesive Applicator: For applying the new adhesive precisely and evenly.
Safety Precautions During Replacement
Safety should always be a priority during the side window replacement process. Some essential precautions include:
- Use Personal Protective Equipment (PPE): Always wear gloves and safety goggles to minimize injury risk.
- Proper Ventilation: Ensure the working area is well-ventilated, especially when using adhesives that may emit fumes.
- Handle Glass with Care: Glass can shatter easily; handle it delicately to avoid injury and further damage.
Post-Replacement Care and Maintenance
Initial Checks After Installation
After completing a side window replacement, several initial checks should be performed to confirm the installation’s integrity:
- Seal Integrity: Verify that the seal is tight and free of gaps that could allow air or moisture intrusion.
- Window Functionality: Test to ensure the window operates smoothly without obstruction.
- Noise Levels: Listen for any unusual noise when driving; this can indicate an improper seal.
Long-Term Maintenance Tips
To ensure the longevity of your newly replaced side window, consider these maintenance tips:
- Avoid Slamming Doors: Be cautious when closing the vehicle doors; slamming can damage the new window and its seal.
- Regular Inspection: Periodically check for any signs of cracking or shifting that may indicate an issue with the installation.
- Clean with Care: Use gentle cleaning solutions and soft cloths to avoid scratching the glass or compromising the seal.
How to Handle Common Issues
If issues arise after the replacement, knowing what steps to take can help resolve problems quickly:
- Water Leakage: If you find water entering through the window seal, inspect the adhesive and surrounding area for gaps.
- Cracking: If minor cracks develop after replacement, contact a professional immediately to assess and fix the problem.
- Difficulty Operating the Window: If the window is stuck or not operating smoothly, it may require readjustment or further inspection.
Cost and Time Considerations
Factors Influencing Side Window Replacement Costs
Several factors can affect the cost of side window replacement:
- Type of Glass Used: OEM options typically cost more than aftermarket materials due to quality and compatibility.
- Vehicle Make and Model: Certain vehicles may have more complex window systems or unique requirements, increasing labor costs.
- Location: Geographical area can impact labor rates and the availability of parts.
- Extent of Damage: Additional repairs may be needed if there is damage to the door frame or other components.
Estimated Timeframes for Replacement
The time required for side window replacement can vary based on several factors:
- Simple Replacements: Replacing a standard side window generally takes about 1 to 2 hours.
- Complex Systems: Specialty vehicles or those requiring extensive door disassembly may take longer, potentially 3 to 4 hours.
- Scheduling: Availability of parts and technicians can also impact the overall timeframe.
DIY vs. Professional Replacement: Which Is Better?
When deciding between DIY replacement and hiring a professional, several aspects should be carefully considered:
- Experience: While a simple replacement may seem straightforward, lacking experience can lead to improper installation and safety hazards.
- Tools Availability: Professional installers have access to specialized tools and materials that may not be readily available to DIYers.
- Warranties: Professionals often provide warranties for their work, offering additional peace of mind if issues arise.